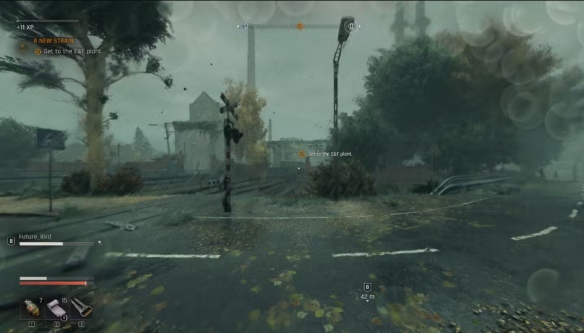
Investigate Baron Activity Near Monument
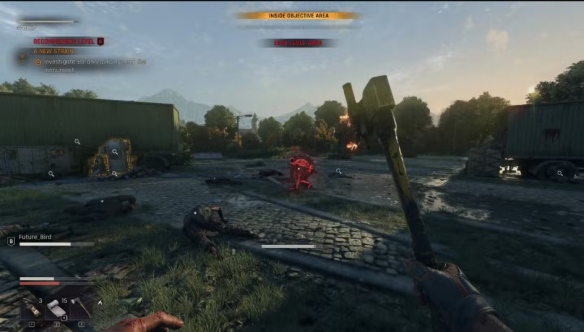
After talking to the Sheriff and Jacob at Town Hall, head to the Monument area. Be prepared - there's a large group of infected to clear. If you want a challenge, you can go at night for extra XP rewards.
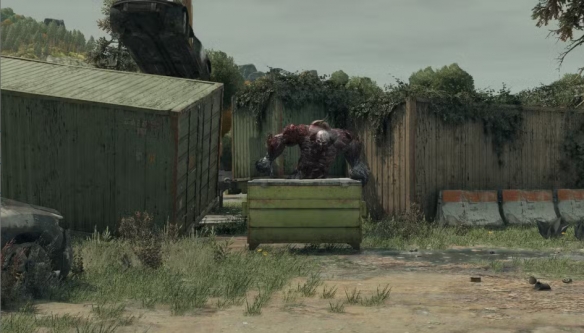
Be careful when clearing all zombies, watch for militia zombies wearing body armor. Due to their front armor, it's best to attack from behind.
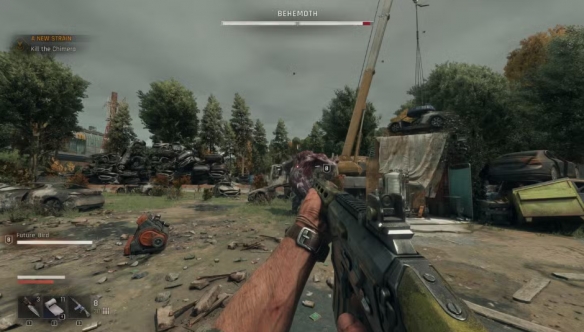
Recommended strategy: Use Molotov cocktails and scattered gas cans in the area to quickly clear. Prioritize dealing with Spitters - one is usually near the truck, another on the monument itself.