Mission Overview
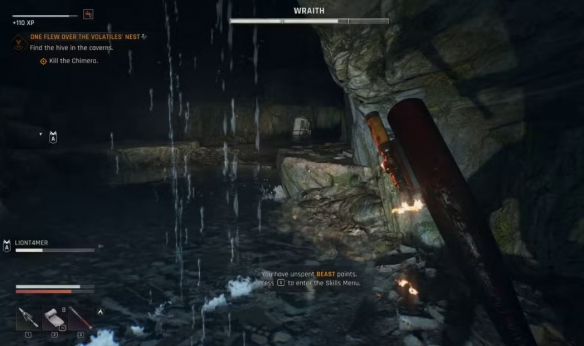
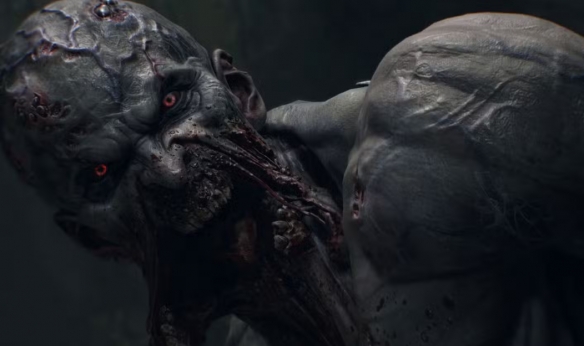
As the game nears its conclusion, you'll face a classic challenge: infiltrating a Volatile nest. This is an iconic element of survival horror games, and now it has finally arrived.
What I initially thought would be a somewhat tedious mission turned out to be one of my favorite main quests in The Beast. But the exciting experience comes with extreme difficulty.
Therefore, if you're struggling with stealth or the boss fight, this guide for the One Flew Over the Volatiles' Nest mission will help you.
Before starting this mission, it's highly recommended to craft plenty of healing items and carry a flamethrower or modified weapons that can ignite enemies.