Mission Overview
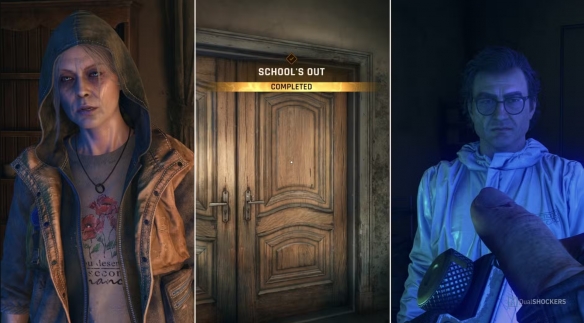
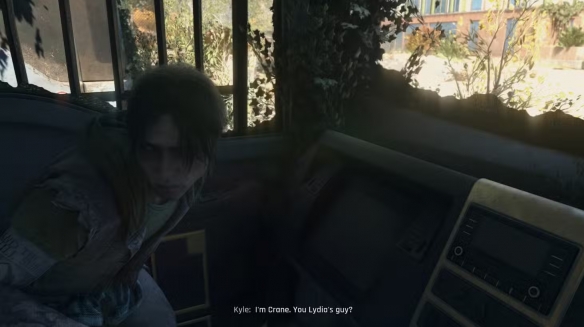
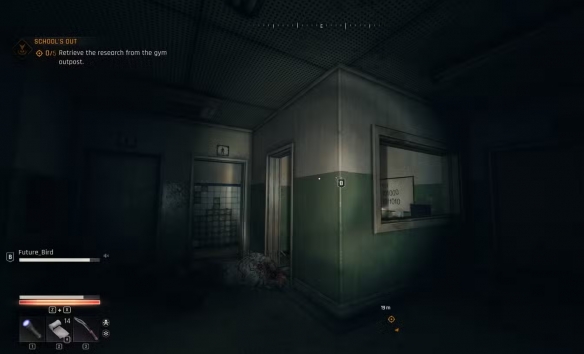
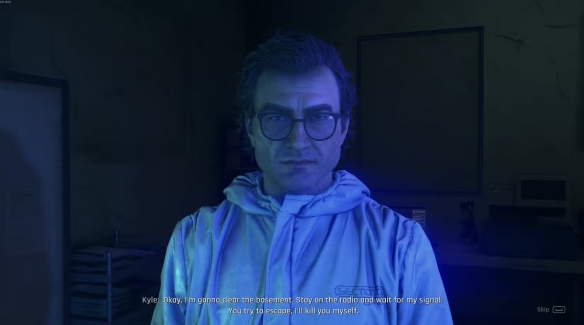
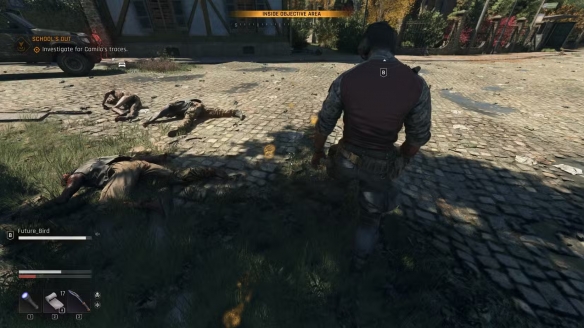
After quickly dealing with the Toxin in the 'Toxic Relationships' mission, Lydia immediately contacts Crane, requesting him to infiltrate an abandoned school that has been converted into a laboratory by the Baron. This begins the 'School's Out' mission.
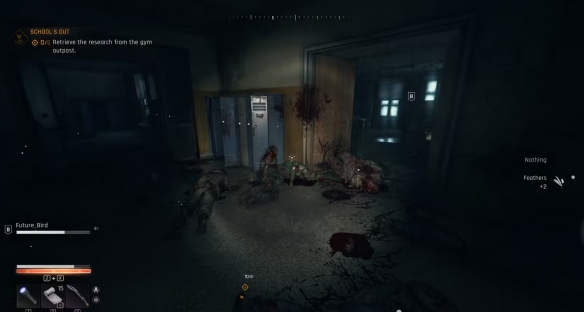
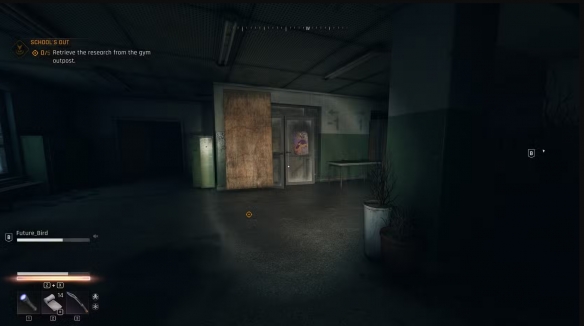
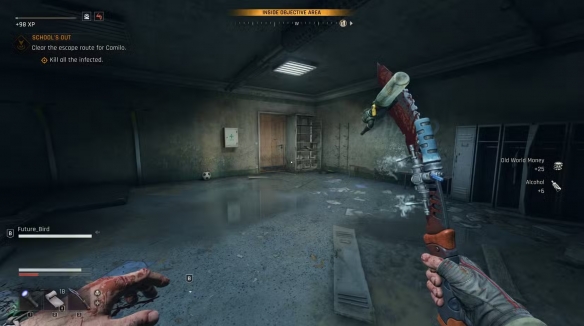
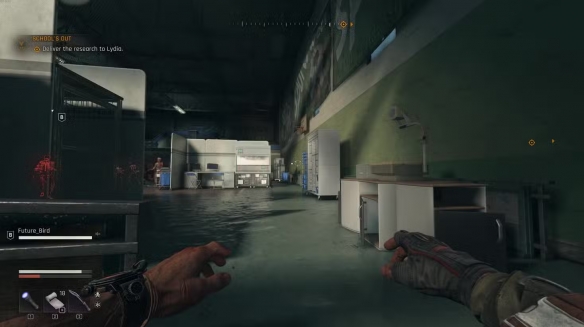
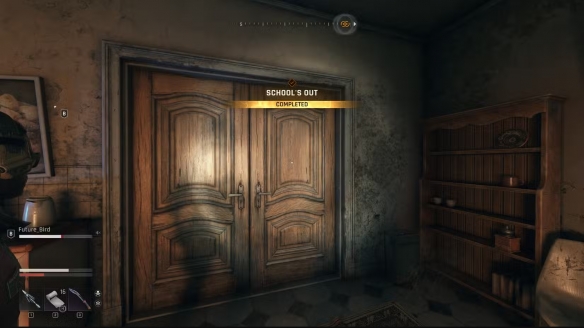
The feeling of length in this mission doesn't come from numerous objectives, but from needing to delve deep into the building's complex structure to achieve your goals.
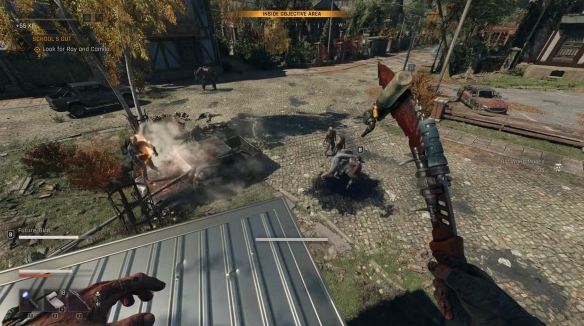
Don't worry - detailed step-by-step guidance will be provided below to help you smoothly complete the 'School's Out' main quest in Dying Light: The Beast.