Mission Overview
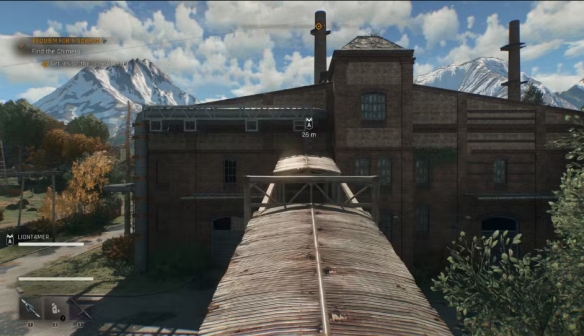
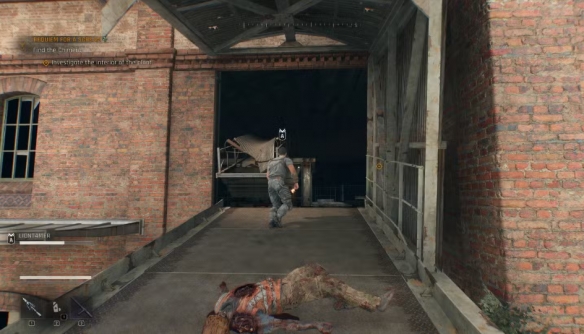
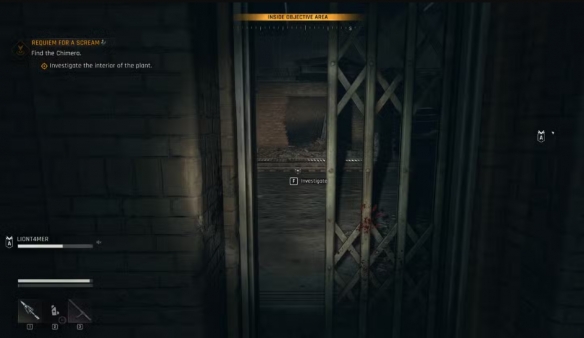
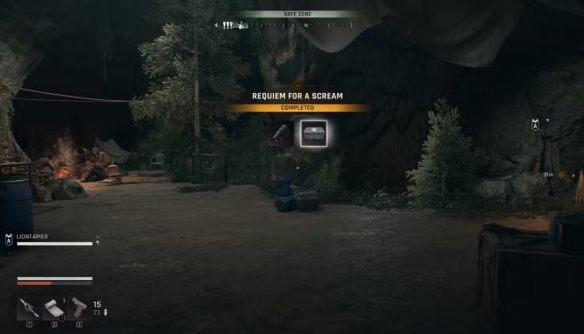
Requiem for a Scream is one of the shortest main quests in Dying Light: The Beast, with a duration similar to the Toxic Relationships mission. For some players, the biggest challenge may be finding the way into the factory.
I personally wasted 20 minutes searching for the entrance, only to discover it was right in front of me all along.
To ensure you complete this smoothly, this guide will not only show you the entrance but also detail the mission flow and essential items needed.