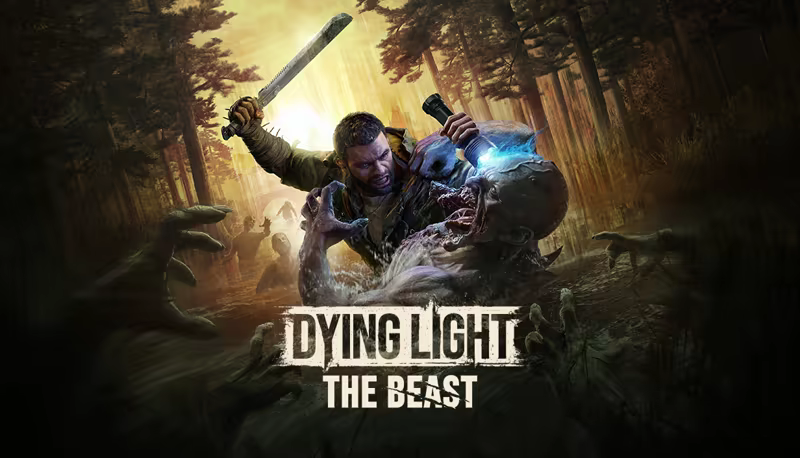
Dying Light: The Beast
Complete Strategy Guide
Master the beast within and survive the nightmare of Castor Woods
About Dying Light: The Beast
Play as Kyle Crane, a protagonist transformed by years of brutal experiments. After being subjected to the Baron's twisted tests that infused him with experimental zombie DNA, Crane must learn to control the monster within while seeking revenge against those who wronged him.
A Beast Is Born: Embrace your dark side and unleash devastating powers. Switch seamlessly between human and beast forms - each offering unique advantages in combat and traversal. Master the balance between maintaining your humanity and wielding the destructive force of the beast.
Survive Castor Woods: Explore a massive open world featuring diverse environments - from abandoned tourist towns and industrial complexes to sprawling national parks, farmlands, and treacherous swamps. Each area presents unique challenges and opportunities for survival.
Core Features
-
Hybrid Gameplay
Freely switch between human and beast modes, each with unique abilities and playstyles
-
Extreme Combat
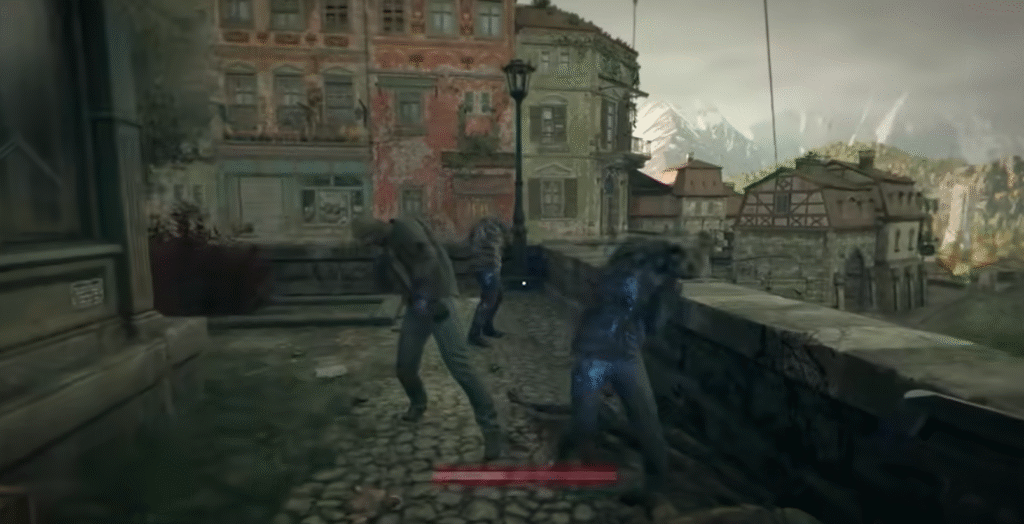
Push brutality to the extreme with visceral first-person combat and devastating finishing moves
-
Advanced Parkour
Master fluid movement with enhanced parkour mechanics and vehicle traversal
-
Day/Night Cycle
Face intensified nighttime challenges where the infected become more dangerous
-
4-Player Co-op
Team up with friends in seamless drop-in/drop-out multiplayer for up to 4 players
-
Story-Driven Experience
Uncover the dark truth behind the experiments and seek revenge against the Baron
Master Your Inner Beast. Survive the Nightmare.
In Dying Light: The Beast, every choice matters. Will you embrace the monster within to gain power, or fight to preserve your humanity? Navigate the zombie-infested world of Castor Woods, where danger lurks around every corner and the night brings unspeakable horrors.
10 Essential Survival Tips
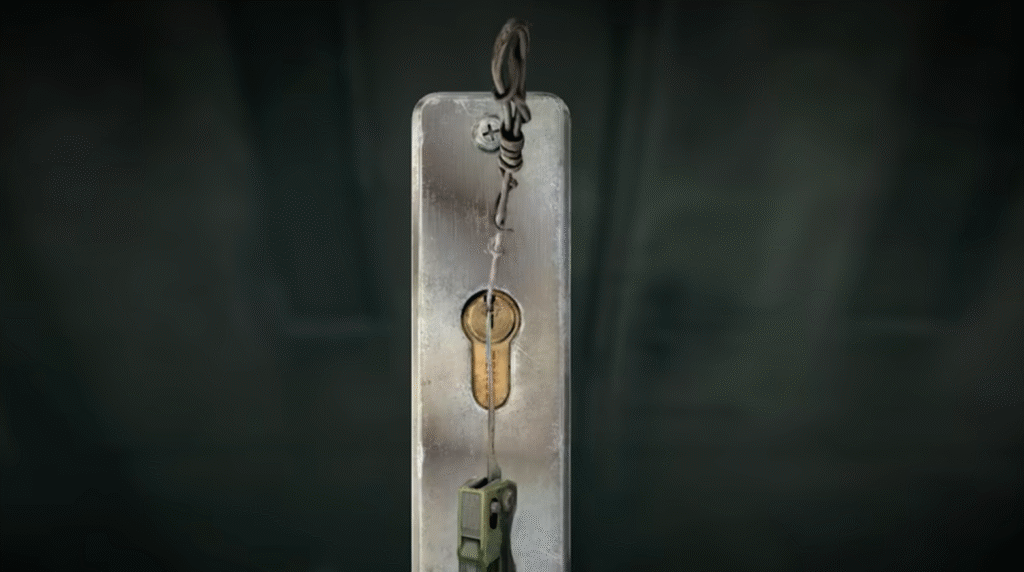
1. Infinite Lockpick
This generation's mechanism is almost identical to the previous game - if you fail 5 consecutive attempts, the lockpick will break. Here's a little trick for everyone: when you reach the 4th attempt, you can exit and re-enter, and the lockpick's durability will reset. This way, one tool can be used infinitely.
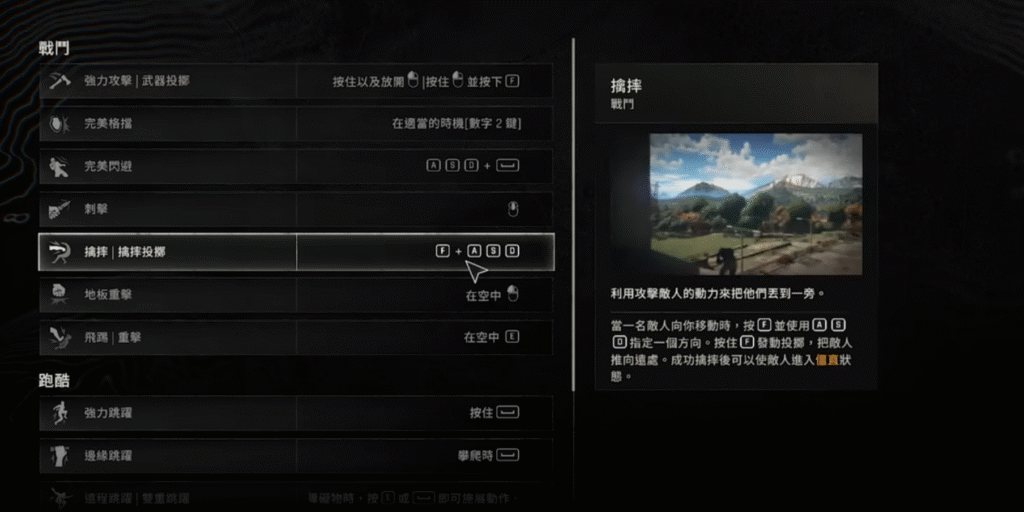
2. Weapon Throwing and Grappling
In the bottom left corner, we can see an initial skills option. Once opened, you'll see some combat-related systems in the game, two of which are particularly useful: weapon throwing and grappling.
Weapon Throwing:
This system is perfect for dealing with Bombers. Generally, when a Bomber gets close to us, it will self-explode, but if we just throw a weapon at it, we can instantly kill it. Weapon throwing can also be used as bait to divert enemy attention. However, it's better to use unwanted weapons for throwing, because sometimes thrown weapons can glitch through surfaces and get stuck in places you can't reach, making that weapon useless.
Grappling:
This generation's enemies have very long reach, often grabbing you before you can hit them. When enemies lunge at you, you can hold F to counter them. Not only that, grappling makes it easier to push rooftop zombies to the edge, where one kick can send them falling - very practical.
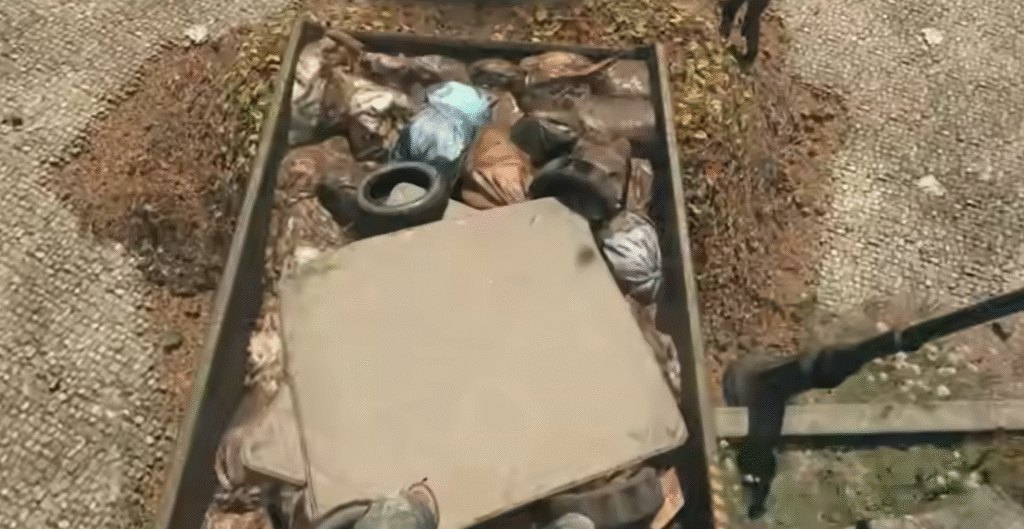
3. Fall Damage
We can select a post-landing roll skill in the skill tree to reduce fall damage, but if the height is too great, you'll still die. Fortunately, there are environmental elements in the game that can effectively reduce damage: first is trash piles, second is canvas roofs (building awnings or stall canopies), third is car roofs - the city is scattered with many abandoned cars that can't be driven, and they can basically all serve as safe landing points (but be especially careful, red tour bus roofs don't have damage reduction). The last is soft haystacks.
4. Looting
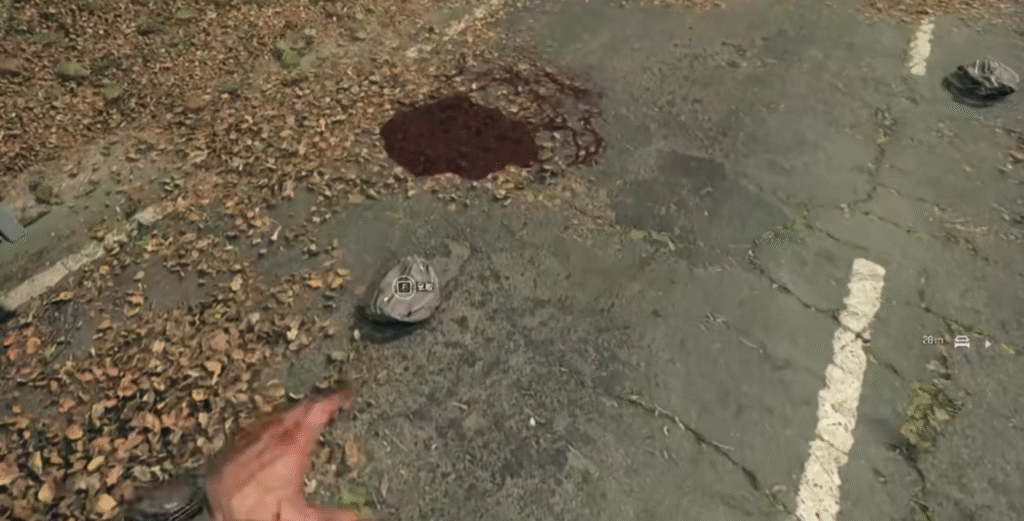
After killing zombies, searching them one by one is too troublesome. Here's a more convenient method: you just need to temporarily leave the area - you don't need to go far, just turn a corner or let the bodies leave your field of view. When you return, you'll find the bodies have disappeared, replaced by their dropped bags, making collection much more convenient.
5. UV Flashlight
When we need to run through zombie hordes, besides using charge skills to push them away, there's another method - using the UV light. One flash and they're immediately controlled. Additionally, when we're out of stamina during combat, we can also use the UV light to briefly control them.
6. Dropkick
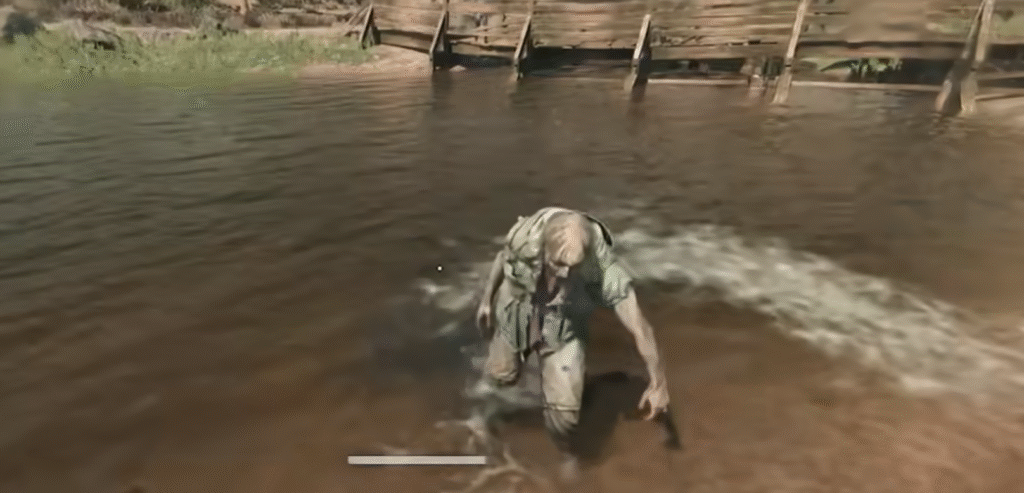
I believe many people know that kicking enemies off rooftops can instantly kill them. Here's another tip: we can kick zombies into water to drown them as well.
7. NPC Merchants
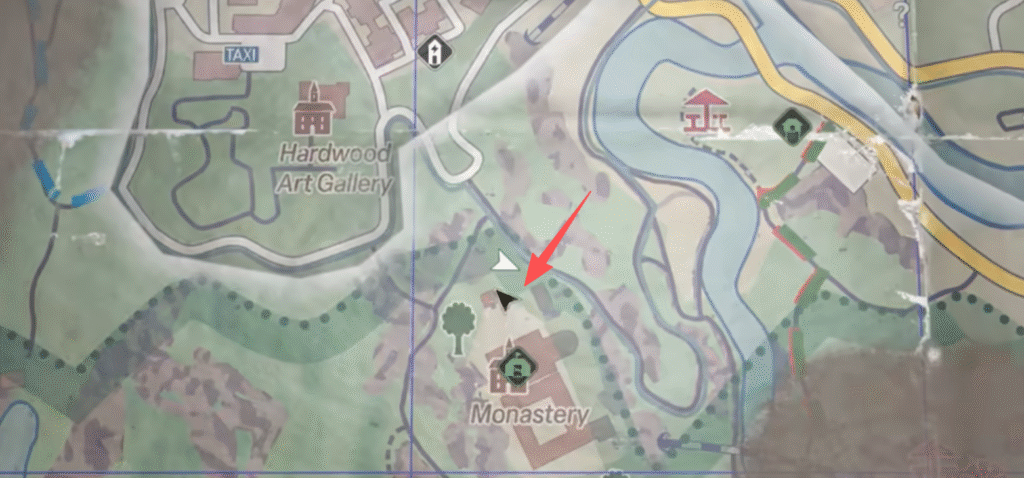
For NPC merchants in the main city, I suggest buying all the resources they sell, because compared to equipment and weapons, resources have better value. If you need money early in the game, here's a great spot I recommend: north of the monastery at this location (indicated by the red arrow), there's a wine cellar. Just lockpick the door, and you'll find plenty of Old World Wine inside. These wines are legendary-grade valuable items, each selling for 150 to merchants, and they respawn. This means every time you pass by the monastery, you can stop by the cellar to farm them. The respawn time is about 30 minutes in real life.
8. Blueprint Pinning
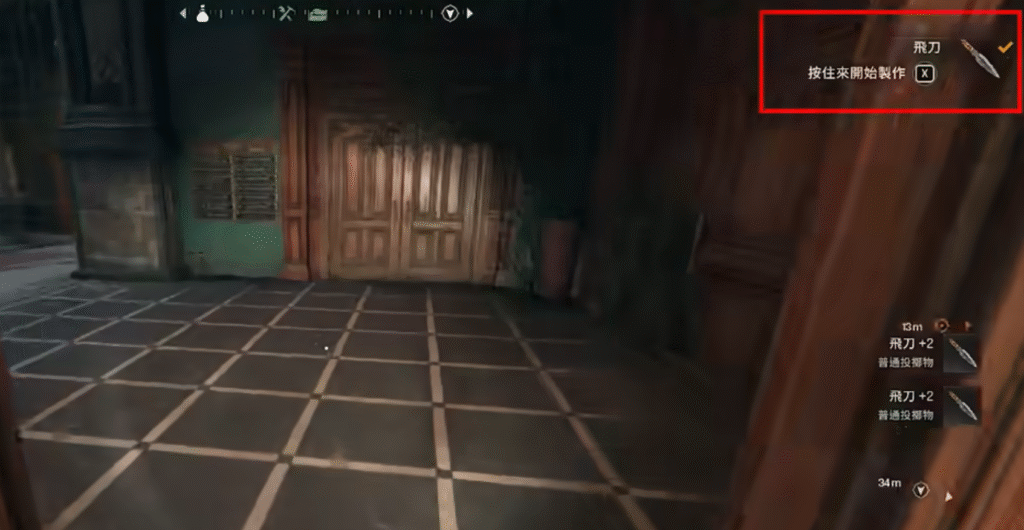
In the game's crafting page, we can pin blueprints. The function of this feature is that whenever we gather enough materials, the upper right corner will prompt us for quick crafting, so we don't need to open the crafting interface every time. I suggest pinning commonly used items like throwing knives, molotovs, or bandages.
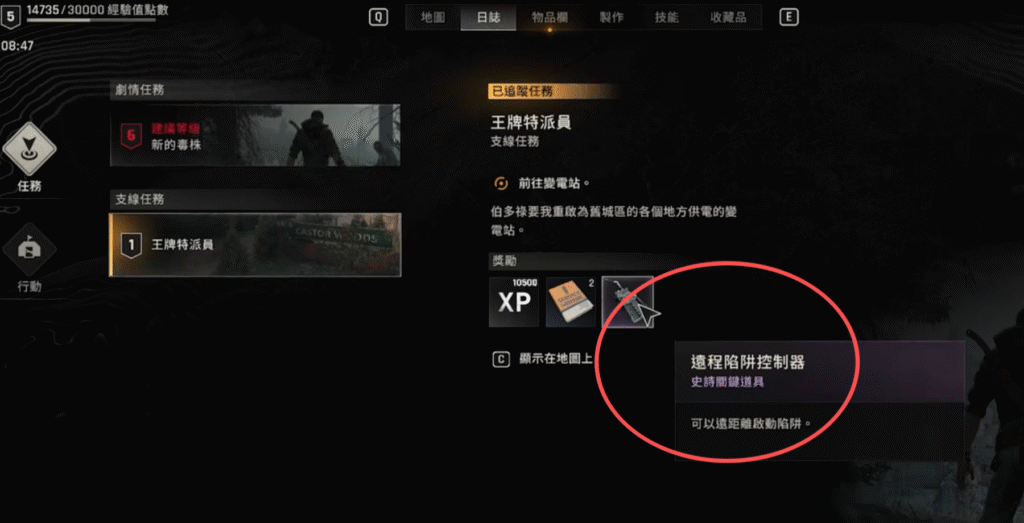
9. Remote Trap Controller
We need to pay attention to an important side quest in the game - "Ace Agent". I suggest completing this quest as early as possible, because it unlocks a very useful item - the Remote Trap Controller. With it, we can remotely control various traps, such as activating specific vehicles to attract enemies, or electrifying ground electric fences to instantly clear an area of zombies.
10. Unlocking Safe Zones and Legendary Weapons
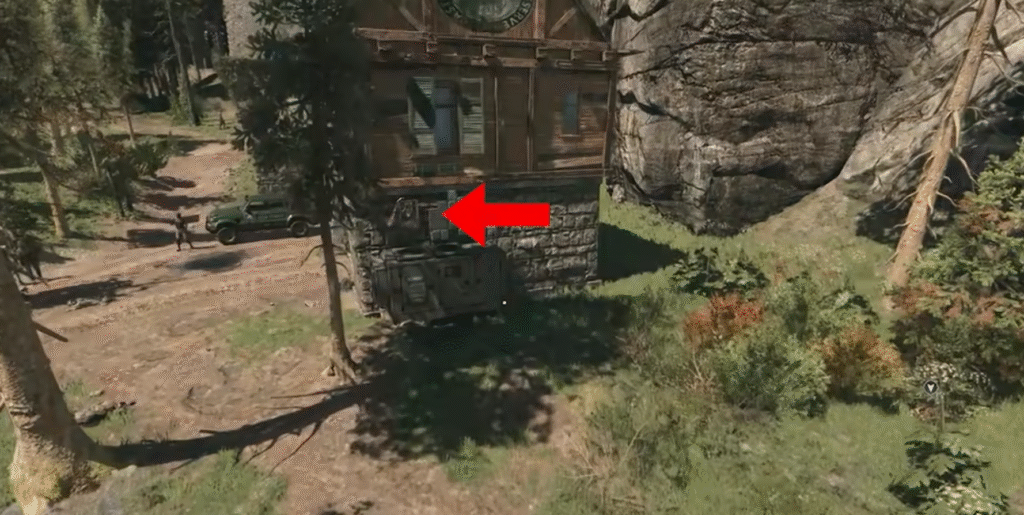
Explore more and unlock safe houses. Almost every safe house in the game provides weapon or equipment blueprints, and some safe zones have legendary weapons nearby. For example, early in the game, we can get a legendary SMG. The location is in the area southeast of the monastery. Along the way, you can also unlock a safe tower. When you arrive, you'll see a green power station that you need to enter from the top. After entering, first start the generator, then connect the wires. The connection point is on the engine next to the house. Once successfully powered, the warehouse door will open. There's an iron door inside - lockpick it, and you'll find a legendary SMG called "The Needle" inside.
40 Episodes Walkthrough
Beginner Tips
Essential tips and gear acquisition guide for early game
Gameplay Mechanics
Complete guide to combat and parkour systems
Episode 1: Rise and Shine
Finally escape the quarantine zone and see sunlight again
Episode 2: Safe Haven
Find a safe shelter
Episode 3: Life After Life
Everything has changed
Episode 4: The Beast Within
Unleash the beast within
Episode 5: First Blood
The first real battle
Episode 6: Power Gambit
Restore the power supply
Episode 7: A New Strain
Track and defeat the Behemoth Chimera
Episode 8: Vengeance Is Mine
Infiltrate the Baron's mine stronghold and face the Sheriff's betrayal
Episode 9: Some Like It Dark
Find the exiled telepaths and rescue Sven's missing scout
Episode 10: Secrets in the Air
Climb three radio towers to intercept the Baron's communications
Episode 11: Toxic Relationships
Hunt and defeat the Toxin Chimera in the stone circle park
Episode 12: School's Out
Infiltrate the Baron's abandoned school laboratory
Episode 13: Requiem for a Scream
Enter the factory and defeat the Matriarch boss
Episode 14: One Flew Over the Volatiles' Nest
Infiltrate the Volatile nest and defeat the Wraith boss
Episode 15: Buried Truths
Hunt the final Chimera and complete Beast Mode
Episode 16: Killing Spree - Final Chapter
The end of the killing spree
Episode 17: New Strain
Discover a new virus strain
Episode 18: Important Cargo
Escort critical supplies
Episode 19: Paradise Lost
Paradise falls into chaos
Episode 20: Never Too Late
Time for revenge
Episode 21: Exile
Forced into exile
Episode 22: Last Wish
Fulfill the final wish
Episode 23: Face It
Face reality bravely
Episode 24: Hunt for Yaga
Hunt the mysterious Yaga
Episode 25: Speed and Stakes
A race against death
Episode 26: Inner Demons
Inner demons out of control
Episode 27: Secret Signal
Intercept a mysterious signal
Episode 28: Fight Fire with Fire
Use virus against virus
Episode 29: School Encounter
Chance meeting at abandoned school
Episode 30: Chain Reaction
Trigger a chain reaction
Episode 31: Hold onto Humanity
Preserve the last of humanity
Episode 32: Screaming Elegy
Desperate screams
Episode 33: Love's Crystal
Testament of love
Episode 34: Night Hunter's Nest
Enter the Night Hunter's lair
Episode 35: Hidden Truth
The truth that was hidden
Episode 36: The Cure
Find the cure
Episode 37: Beast Bait
Become bait for the beast
Episode 38: The Last Supper
The final showdown